7 Essential Tips For Treating Your Home Studio
- 7 min read
When it comes to acoustic treatment for your home studio, it can be difficult to know where to start. Acoustic treatment is commonly used to control sound reflections. But knowing how (or why) to do this is something audio professionals can spend years training their ears to pick up on.
While it is possible to get a proper-sounding listening space on a budget, in professional studios, it's not uncommon for acoustic treatment to cost thousands of dollars.
Attention to detail needs to be paid to:
- The behavior of low frequencies
- The actual frequency response of the room
- Reflected sound (and other sound-reflecting materials).
- The list goes on!
It isn't just a case of stopping sound waves either, but rather creating a listening environment that offers a flat frequency response. This means there aren't any exaggerated frequencies present in the room sound that shouldn't be there.
Think of it this way - you're mixing a track so that the mix translates well to any speaker system. Let's say in your home studio there is a build-up of bass frequencies at 150hz. When you're mixing your track, you're going to be making corrections based on this (meaning you might remove some 150hz with an EQ plugin on your DAW when it isn't necessary).
Consequently, when you play your mix on another set of speakers in a treated room, you will find the sound lacking in that area. Being able to identify frequencies simply by ear takes a lot of practice, but luckily there are a few tried and tested things you can do to create a better listening environment.
So if you're just setting up your home studio and unsure where to start, we're going to take you through our 7 tips for acoustically treating your home studio.
1. Bass Frequencies Build In the Corners Of The Room
If you look at any acoustically treated room, you'll often notice bass traps in the corners. Low frequencies tend to build up in these areas, and this causes a problem particularly present in small to medium-sized rooms (e.g. your bedroom or spare room!).
As we've mentioned, ideally we want as flat of a frequency response as possible in the room. If we have huge amounts of low-end energy building in the corners, then we're naturally going to hear too much bass in the room.
Adding bass traps to absorb some of that low energy can go a long way to improving your listening environment.
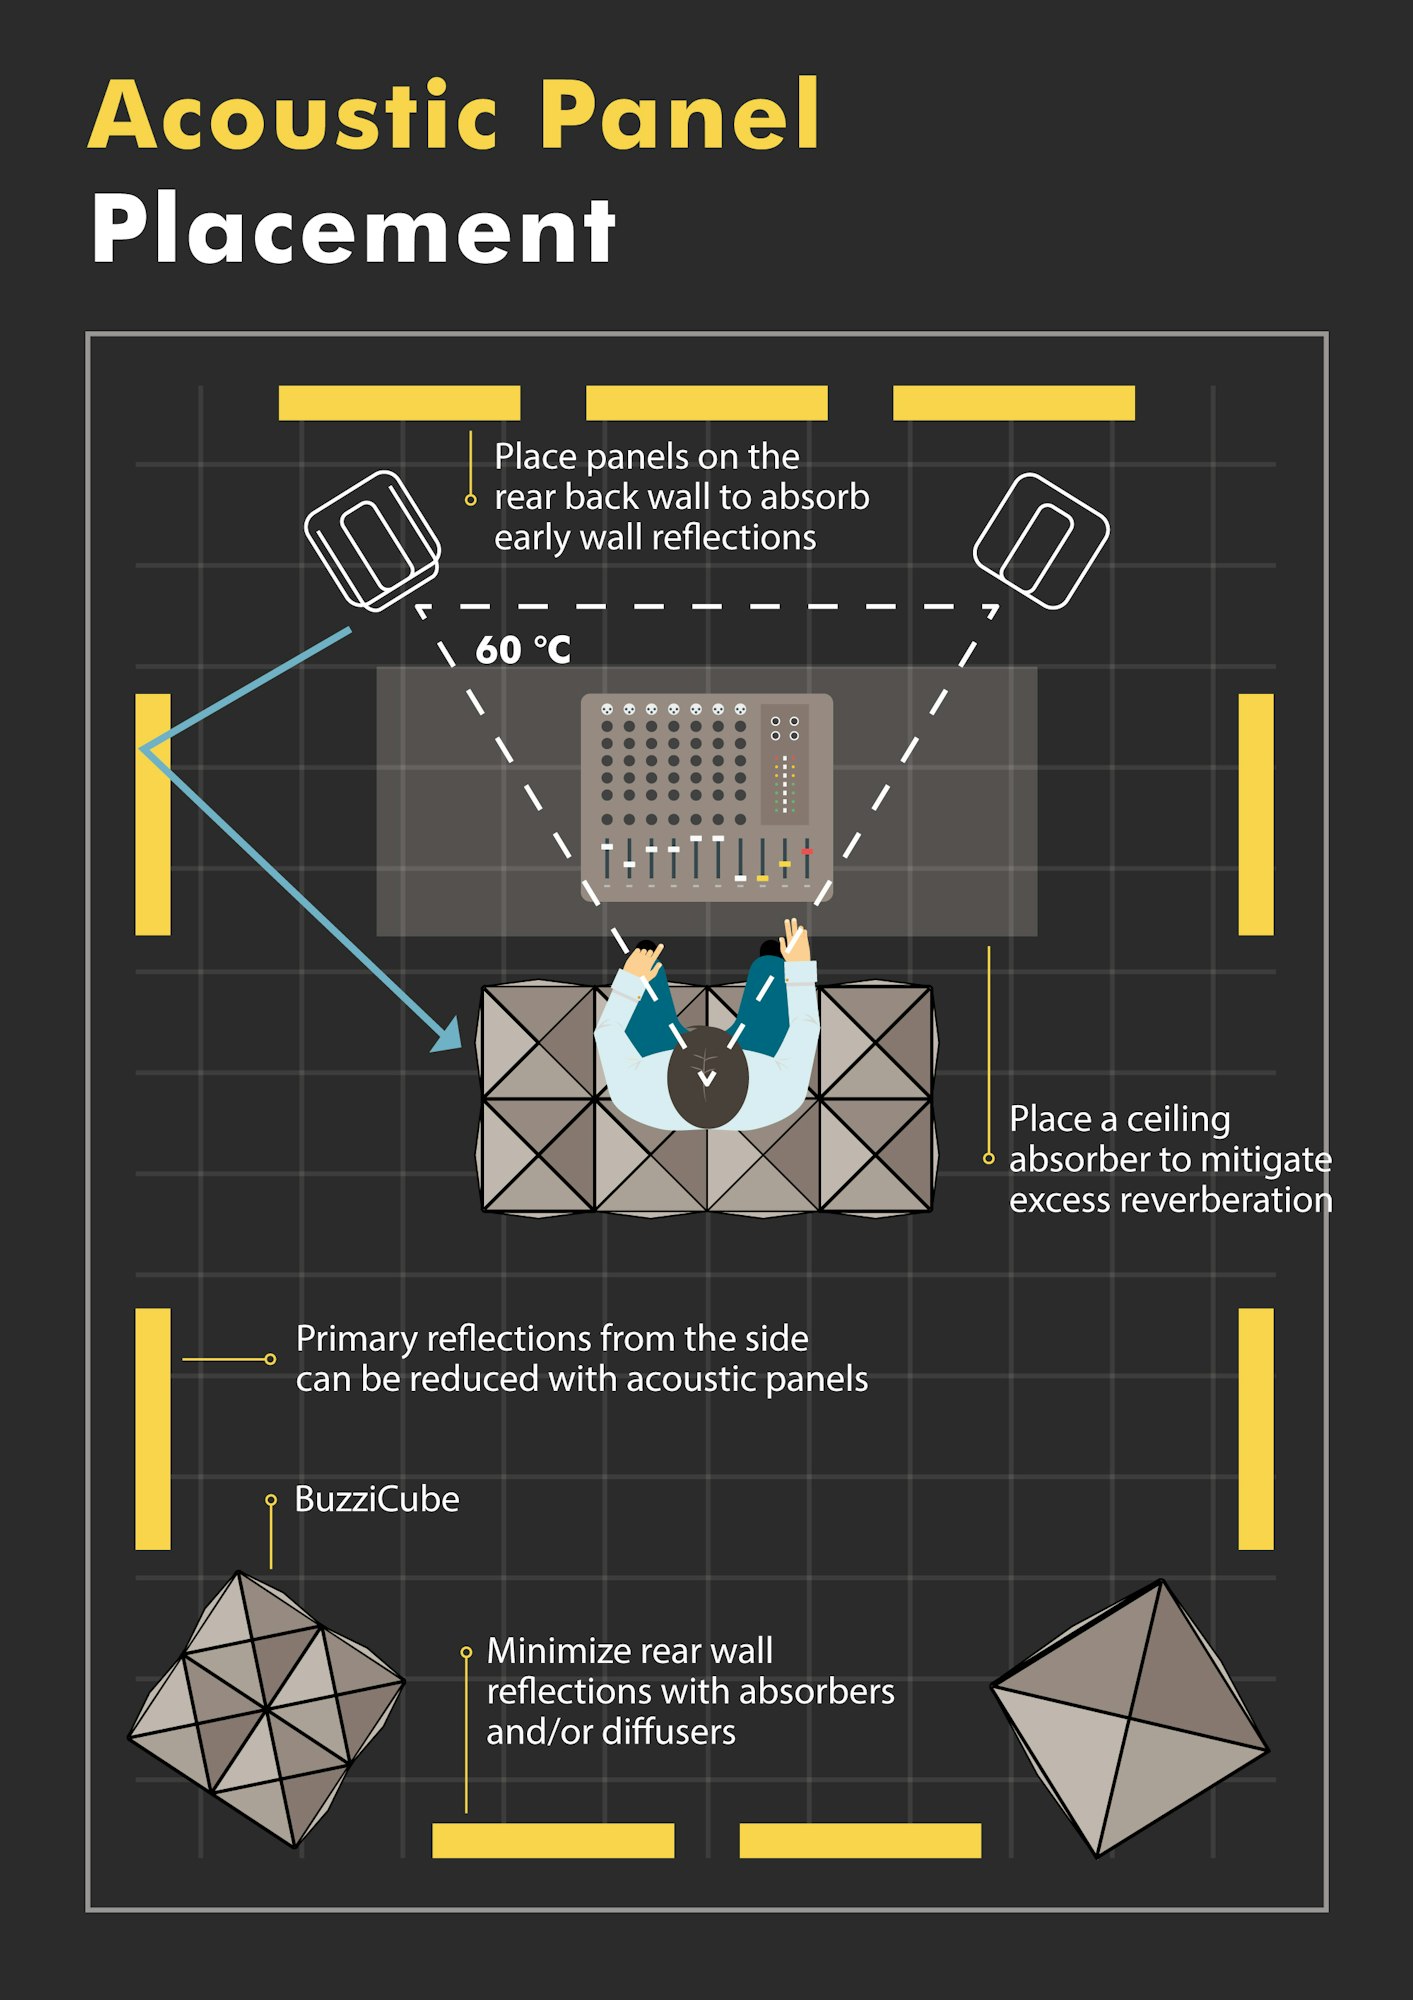
2. Use A Mirror
This might seem a little unconventional (after all, we are talking about sound) however a mirror can be a really handy tool in your home recording studio when you want to think about installing acoustic panels.
Unfortunately, it's impossible to get a reflection-free zone. Any sound you hear from your studio monitors is going to reflect off the parallel walls and the rear wall of the studio. From your mixing position you aren't just hearing the sound from your speakers, but a combination of the direct sound and the reflections from the walls.
In home studios, this is an issue because plaster and plasterboard reflect a lot of sound meaning a lot of what you are hearing isn't the pure sound from your speaker. Installing acoustic panels in the positions where the walls reflect sound directly to your listening position can really help with this.
Ask a friend to hold the mirror up in various positions on the wall - if you can see your speakers from your listening spot in the mirror, then this is a good sign that you can improve your room acoustics by adding wall panels in these areas.
3. Use Diffusion AND Absorption
Acoustic treatment isn't always a case of installing a bass trap and acoustic panels to absorb waves and give you a more accurate sound at the listening position.
It's important to think about diffusion as well. Diffusion scatters your sound source rather than simply absorbing it. Why is this important? Well, it can be possible to create a very dead sounding room if too much of your frequency content is absorbed.
A big issue with untreated spaces are frequencies getting “trapped”, and this itself can ruin the natural balance of the music you're hearing. Installing diffusers can help spread these frequencies so that nothing gets trapped.
It is key to find the right balance and placement of diffusers and absorbers. Get this right, and you'll transform your listening space.
4. Soundproofing Vs Acoustic Treatment
It's quite common for soundproofing to be confused with acoustic treatment. As mentioned, acoustic treatment is a process of making your room sound as neutral as possible for when you're mixing or mastering music on your monitor speakers. Soundproofing, however, relates to blocking external sounds from your recording environment. In an ideal world, our home studio would be in the countryside, miles away from any distracting or annoying interference. Unfortunately, for most of us, there is going to be some sort of outside noise that can cause issues when recording with sensitive microphones.
The amount of soundproofing you'll be able to do depends on cost, the room you're using (is it your bedroom or a fully dedicated studio space?), and how bad the external noise is.
There are a few ways of cutting down external noise which range from filling air gaps with acoustic caulk or simply blocking any gaps between your door and the floor (quick, cheap, and easy) to adding density to your walls (not as easy and expensive!).
Check out this useful guide on identifying the source of the noise problem and how to treat it.
5. Use Software To Identify Problems
Rather than simply installing panels and traps it can be beneficial to identify specific ranges in the frequency spectrum that are likely to cause problems. This will vary from studio to studio as every room is different in size and shape and therefore frequency response.
Standing waves can cause big problems. This is where a particular frequency (usually low) reflects off a wall just at the right time to mirror the oscillation of the incoming wave and essentially cancels itself out. This can cause an uneven distribution of low frequencies (where in some areas you may hear a lack of low end while it is emphasized in others).
Using free software such as Room EQ Wizard or Sonarworks can give you a better idea of where problem areas may be (and standing waves) and you can assess how to treat them. This isn't generally a problem with high frequencies, but using the software can be handy for treating standing waves, room modes, and any unwanted resonances.
6. Fill Your Room With Furniture
This is quite a broad statement but think about walking into an empty room vs when your room is full of furniture, whether that's a bed, desk, sofa, or wardrobes. Even if you have a dedicated room in your house just for building a studio, it's naturally going to encounter small reflections when it's empty, particularly if it isn't carpeted due to the natural reverb.
Try clapping your hands. You'll notice the direct sound reflects and this is something that can be picked up when recording (particularly vocals when using a sensitive condenser mic).
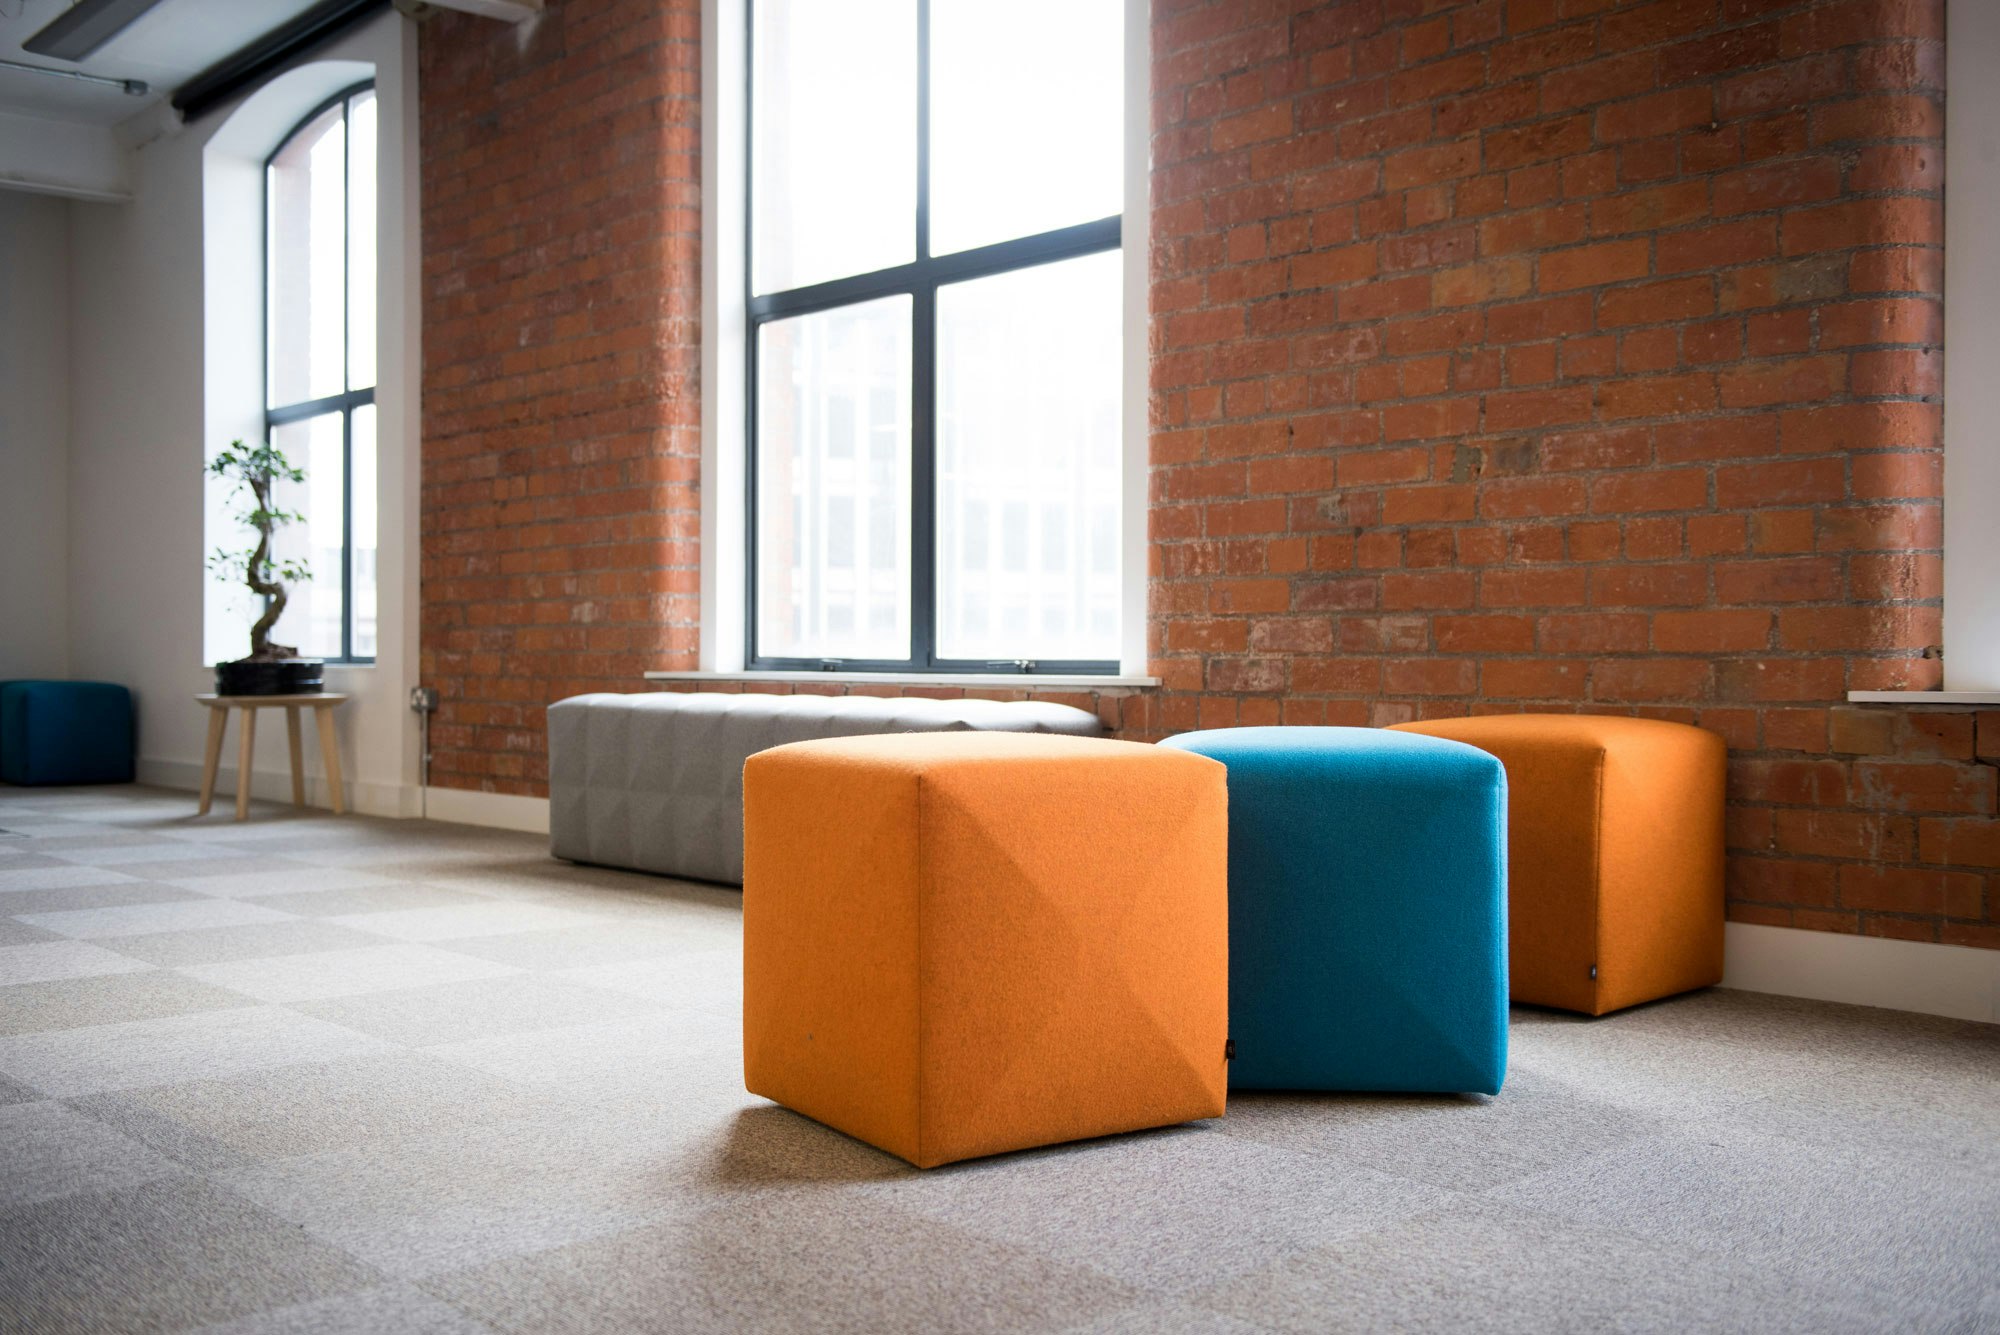
There are many decorative items, such as our BuzziCube, that can be used to help dampen reverberations and diffuse sound.
7. Create Your Own Space
When it comes to acoustic treatment, not everyone is going to be able to install acoustic foam, bass traps, or other options to scatter sound reflections.
If you're encountering problems with reflections then simply place moveable acoustic panels around yourself as you listen. While this isn't the most ideal solution, it can really help dampen the sound to you as a listener in untreated rooms.
The bonus is that these panels can be easily stored away under a bed or arranged neatly into a corner, meaning you aren't needing to commit to changing the look of your room and you can quickly and easily give yourself an improved listening environment free of reflection points.
Wrapping Up
There are lots of ways you can acoustically treat your home studio, which can range from cheap solutions to mega-expensive. But this list is a great place to get started. There's also plenty of resources online from YouTube channels to podcasts that will help you with your home studio hacks.
It can be tricky if you are just starting out mixing and mastering to know what you are looking for but utilize the tips we've given you today and you'll start to notice you're listening environment is improving, which will inevitably lead to better mixes - and that's what we're all after!
Related articles
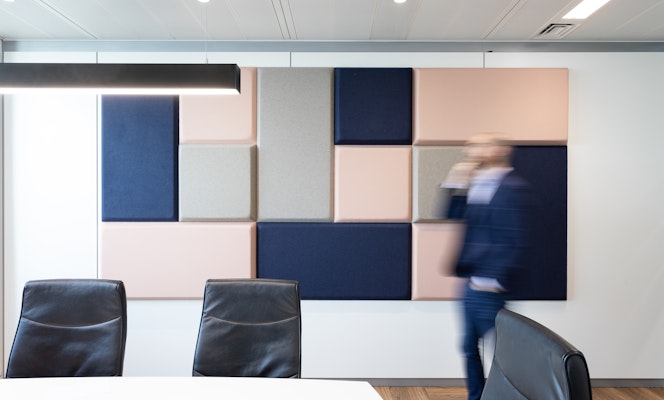
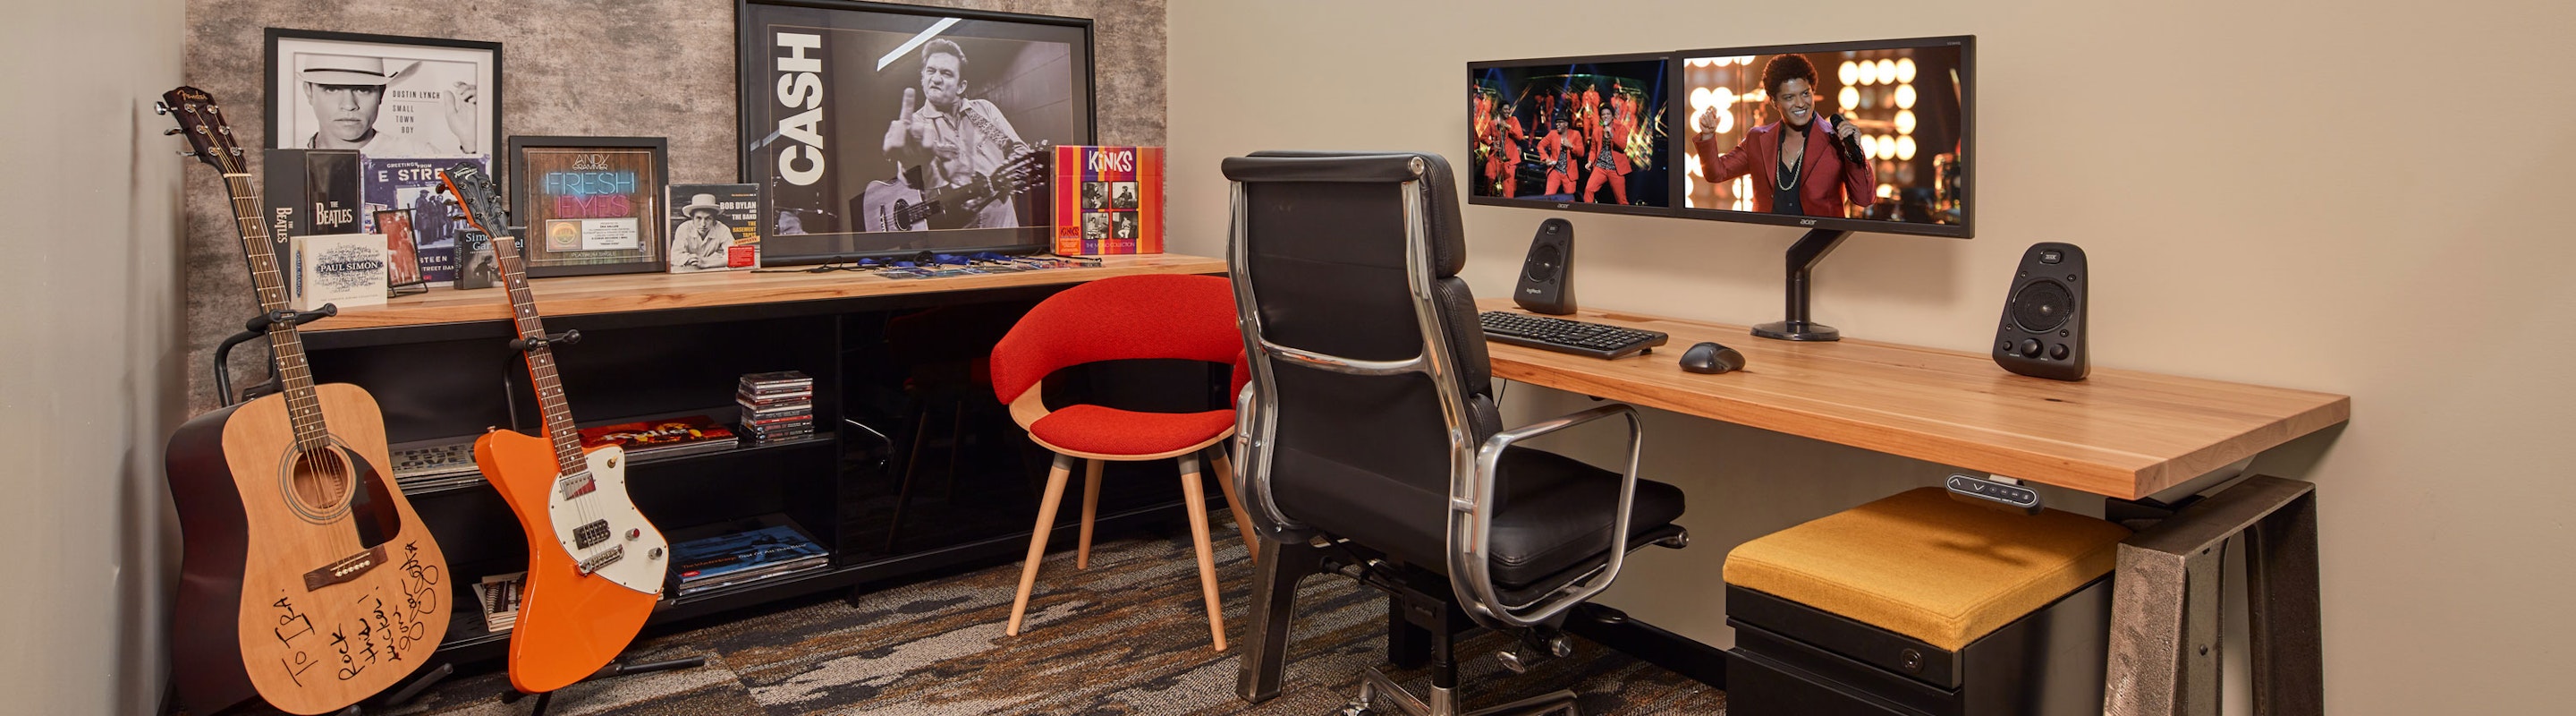
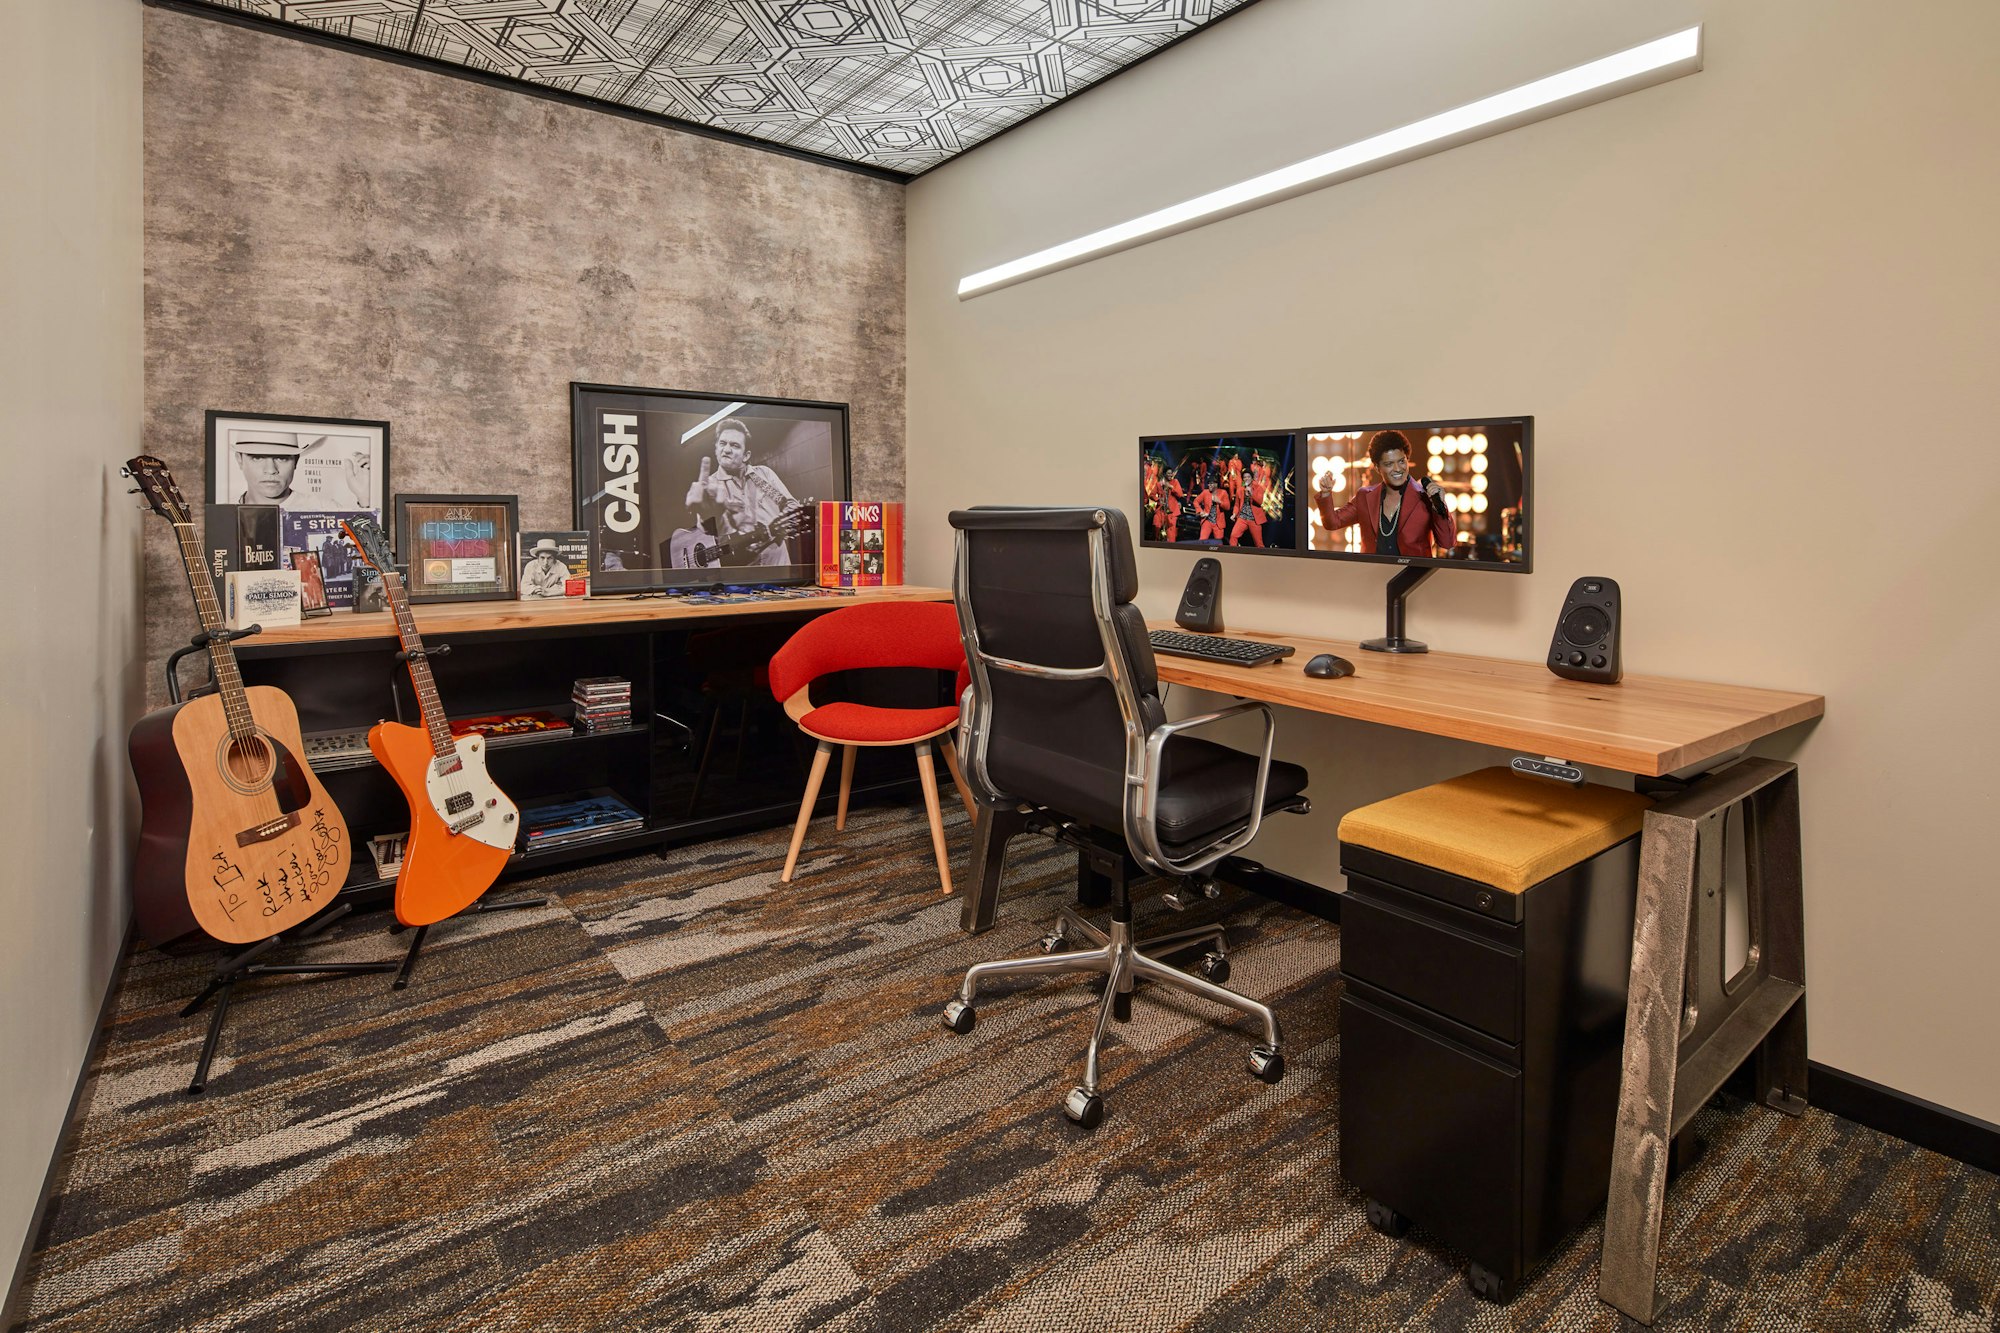
FIS’s Citigroup Tower office merges acoustics with visual delight
Proper acoustics play an imperative role in any environment, especially when it comes to creating a comfortable and productive workspace to thrive in.

5 Seating Elements to Create Hubs for Togetherness
Flexible acoustic seating solutions to help design areas for informal meetings and collaborations, all while encouraging a sense of togetherness.

Color Revelations: The Hub
Use earthly tones to inspire feelings of wellness and serenity.
How to Elevate Your 4-Person Meeting Rooms Using Acoustic Solutions
Discover how sound-absorbing solutions can transform a workspace from poor acoustics and high noise levels to a comfortable and productive environment.